Cut and Fit Floorboards Like a Professional Tradesperson

Cut and Fit Floorboards Like a Professional Tradesperson
Laying a beautiful wooden floor isn’t just about choosing the right boards – it’s about cutting and fitting them with precision. A single uneven cut can spoil the look of the entire room, while accurate work gives a seamless, professional finish. Here’s a step-by-step guide to cutting and fitting floorboards like a seasoned tradesperson.
Preparation: The Right Tools and a Solid Base
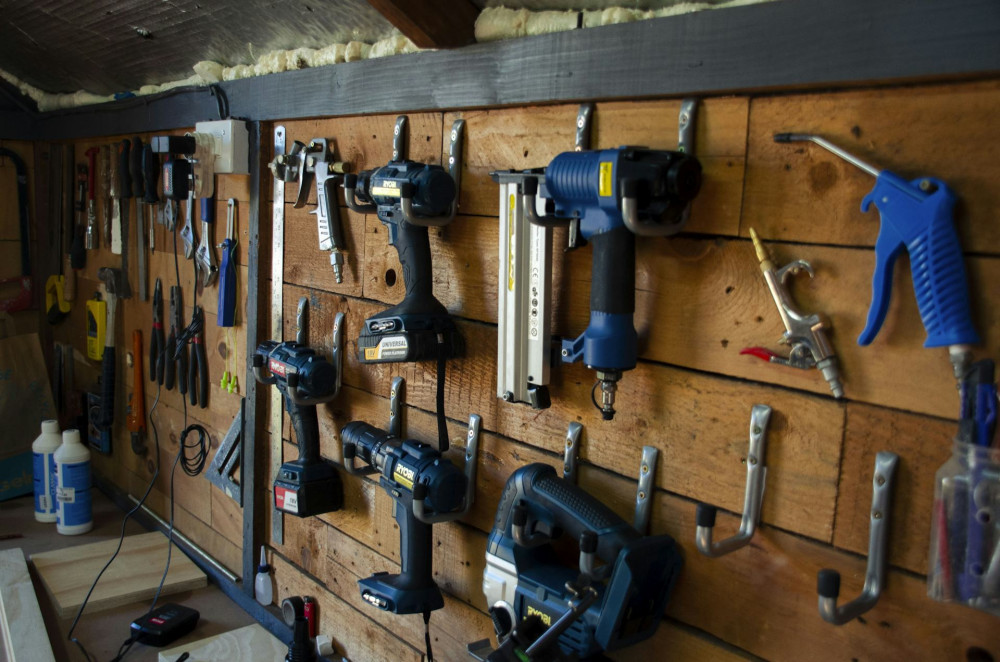
Before you start, make sure you have the proper tools and a good working surface. You’ll need:
- A mitre saw – for precise crosscuts and angled cuts.
- A jigsaw or circular saw – for cutting around pipes, door frames, and corners.
- A tape measure and square – to ensure accurate measurements.
- Spacers – to maintain the correct expansion gap along the walls.
- A pencil and marking tools – for clear, accurate lines.
Check that your subfloor is level, clean, and dry before laying any boards. An uneven base can cause boards to sit awkwardly and may lead to creaking later on.
Measure Twice, Cut Once
It’s an old saying, but it remains one of the golden rules of carpentry. Take your time to measure carefully, and always double-check before cutting. Remember that walls are rarely perfectly straight, so measure both at the top and bottom when fitting boards along a wall.
When marking your cut, use a square to ensure the line is perfectly straight. It might seem like a small detail, but it makes a big difference to the final result.
Cutting with Precision
When cutting, guide the saw smoothly and steadily through the material. Use a fine-toothed blade designed for wood or laminate to achieve a clean edge without splintering.
- For lengthwise cuts (along the board): Use a circular saw with a guide rail for a straight line.
- For crosscuts (across the board): A mitre saw gives the most accurate result.
- For cut-outs around pipes or door frames: Use a jigsaw, and measure carefully before cutting.
A useful tip: if you’re using a circular saw, place the board face down to prevent chipping on the visible surface.
Fitting Around Walls and Corners
No room is perfectly square, so the final boards often need a bit of extra attention. Use an angle gauge or make a simple template to transfer the shape of the wall or corner onto the board, then cut along your markings.
When fitting around door frames, it’s often better to trim the bottom of the frame slightly so the board can slide underneath. This gives a much neater, more professional finish than cutting the board to fit around the frame.
Don’t Forget the Expansion Gap
Wood and laminate expand and contract with changes in temperature and humidity. Always leave a small gap – typically 8–10 mm – between the floorboards and the wall. Use spacers as you lay the boards to keep the gap consistent all the way around.
Once the floor is complete, the skirting boards or beading will cover this gap, allowing the floor to move naturally without visible gaps.
Finishing Touches and Final Checks
After all the boards are laid and the spacers removed, it’s time to fit the skirting boards. Use a mitre saw to cut the corners at 45 degrees for neat, tight joints.
Inspect the floor carefully to ensure all joints are snug and there are no visible gaps. A final sweep and a light wipe-down will remove dust and sawdust – leaving you with a floor that looks like it was installed by a professional.
Læs også:

Small Details, Big Difference
Cutting and fitting floorboards is all about patience and precision. The more care you take with measuring, marking, and cutting, the better the result will be. Remember: it’s the small details – straight lines, clean joints, and accurate cut-outs – that turn a DIY project into craftsmanship worthy of a tradesperson.
Læs også: