Paint Plastic and Laminate Successfully – How to Prepare the Surfaces

Paint Plastic and Laminate Successfully – How to Prepare the Surfaces
Painting plastic and laminate can seem tricky, but with the right preparation, you can achieve a smooth, durable finish that lasts. These materials are non-porous and often treated to resist stains and moisture, which also means paint doesn’t naturally stick to them. The key is to create the best possible surface for the paint to bond to. Here’s a step-by-step guide to help you prepare plastic and laminate surfaces for painting success.
Know Your Material Before You Start
“Plastic” and “laminate” cover a wide range of materials, each with slightly different properties. Understanding what you’re working with helps you choose the right products and techniques.
- Plastic comes in many forms, such as PVC, ABS, and acrylic. Some types can be painted after thorough cleaning and sanding, while others need a specialist adhesion primer.
- Laminate usually consists of a plastic layer bonded to a wood-based board, such as MDF or chipboard. It’s very smooth, so extra care is needed to roughen the surface and ensure good adhesion.
If you’re unsure what type of surface you have, test a small, inconspicuous area first. This will show you how well the paint adheres before you commit to the whole project.
Cleaning – Remove Grease and Dirt Thoroughly
Before you even think about opening a tin of paint, make sure the surface is completely clean. Any trace of grease, silicone, or dust can stop the paint from sticking properly.
- Wash the surface with a degreasing cleaner or sugar soap solution.
- Rinse with clean water and dry thoroughly with a lint-free cloth.
- Avoid using washing-up liquid or general-purpose cleaners, as they can leave a residue that prevents adhesion.
Good cleaning is the single most important step in the process. It might seem simple, but skipping it is one of the main reasons paint peels or bubbles later on.
Sanding – Create a Key for the Paint
Once the surface is clean and dry, it’s time to sand. The goal isn’t to remove material, but to dull the sheen and create a slightly rough texture that the primer can grip.
- Use fine sandpaper (around 180–240 grit).
- Sand evenly and lightly, paying attention to edges and corners where paint can struggle to stick.
- Wipe away sanding dust with a dry cloth or vacuum it off.
For very smooth laminate, a sanding sponge can be easier to use, as it follows the contours of the surface more effectively than flat sandpaper.
Priming – The Secret to Strong Adhesion
After cleaning and sanding, apply a specialist adhesion primer. This acts as a bridge between the surface and your topcoat, ensuring the paint bonds properly.
- Choose a primer designed for plastic or laminate.
- Apply a thin, even coat with a brush or roller, and allow it to dry according to the manufacturer’s instructions.
- If the surface feels rough after drying, lightly sand again before painting.
A good primer makes all the difference between a finish that lasts for years and one that starts to peel after a few months.
Læs også:
Painting – Choose the Right Type
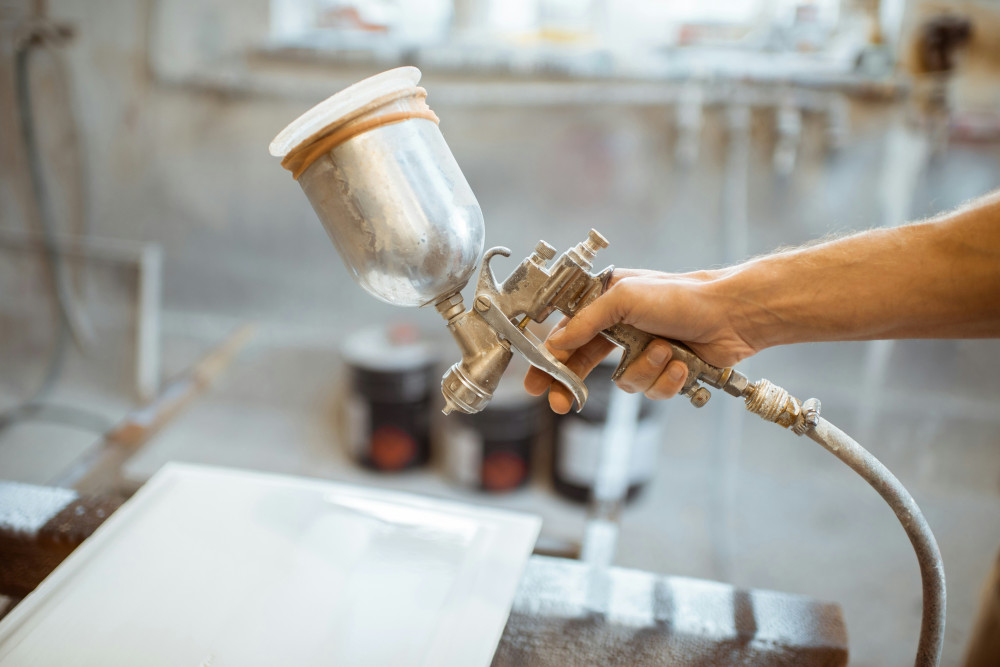
Once the surface is properly prepared, you can start painting. The type of paint you choose depends on where and how the item will be used.
- For furniture and kitchen cabinets, use a durable acrylic or alkyd paint with a hard-wearing finish.
- For outdoor plastic items, choose a paint that’s UV- and weather-resistant.
- Apply two thin coats rather than one thick one for a smoother, longer-lasting result.
Allow the paint to cure fully before using the surface. Depending on the product and conditions, this can take several days.
Avoid Common Mistakes
Even small errors in preparation can ruin the final result. Here are some common pitfalls – and how to avoid them:
- Poor cleaning: Grease and dust stop paint from sticking. Always degrease thoroughly.
- Skipping primer: Paint applied directly to plastic or laminate will often peel.
- Applying thick coats: Thin layers dry better and form a stronger surface.
- Rushing the curing time: Wait until the paint is fully hardened before using the item.
A Smooth, Long-Lasting Finish
Taking the time to prepare properly can transform tired plastic and laminate surfaces into something fresh and modern. It requires patience, but the results are worth it – both in appearance and durability.
With the right approach, you can give old furniture, cupboard doors, or decorative plastic items a new lease of life without spending a fortune. The secret lies in careful preparation and attention to every step of the process.
Læs også: